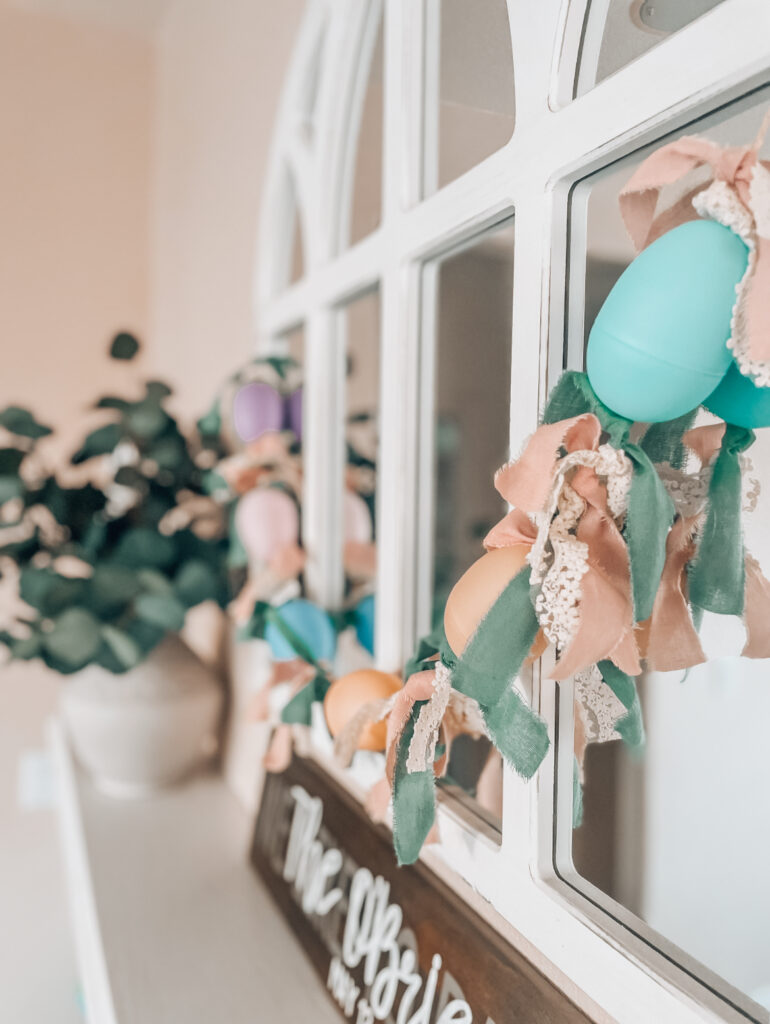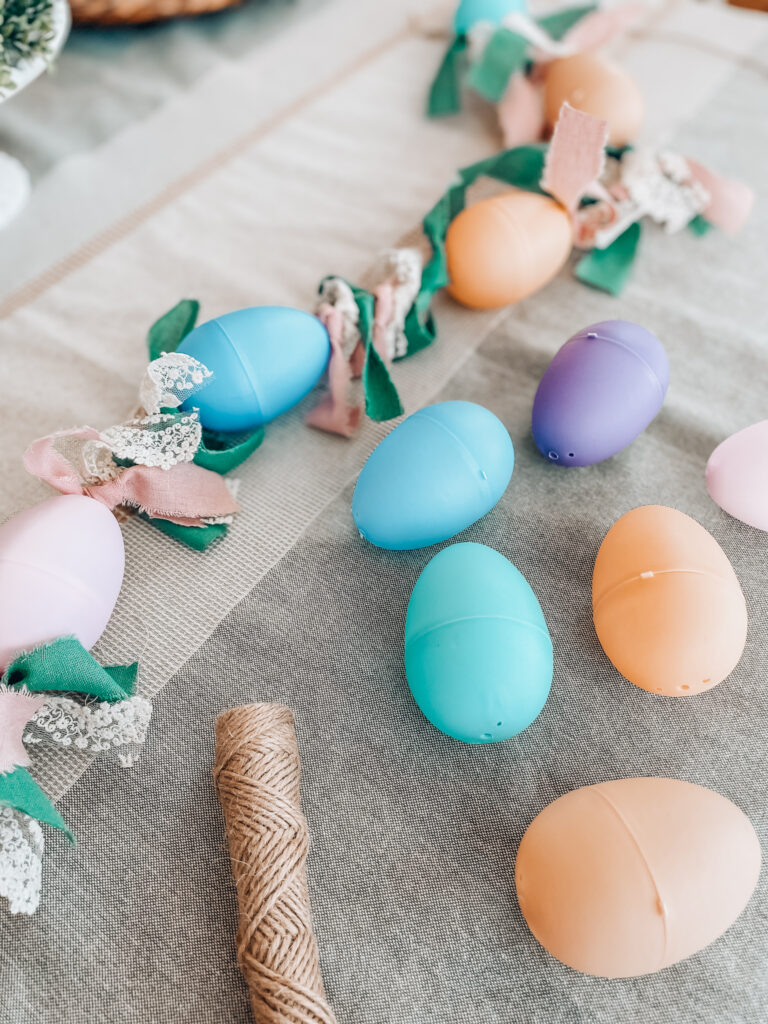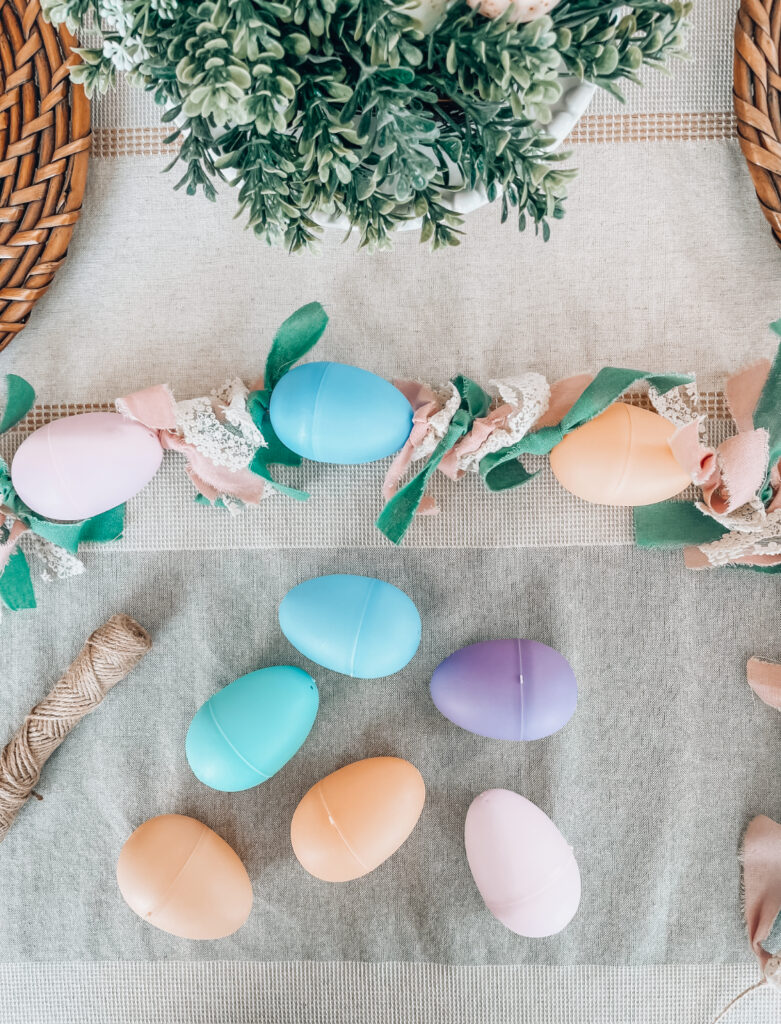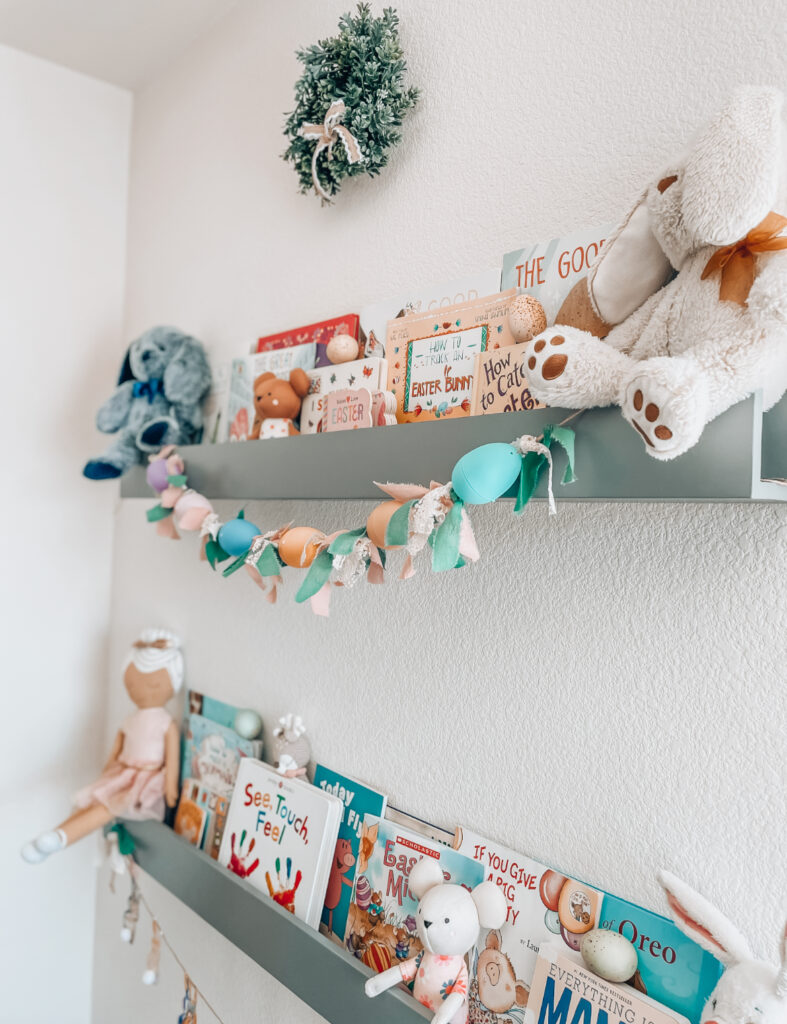
The easiest DIY Easter egg garland idea- all you need are Easter eggs, twine and some leftover ribbon cuttings.
Easter egg are such a fun way to decorate for the holiday and they are surprisingly easy to string on a garland. For a fun pop of color add ribbon knots between the Easter eggs and watch your garland come together in minutes.
Follow on instagram for more easy DIY toddler mom craft ideas.

DIY Easter Egg Garland Supplies:
- Large Easter eggs (make sure they have holes)
- Twine (or yarn / string / thread )
- Ribbon (2-3 colors)
- Scissors
How to make a DIY Easter Egg Garland

1. Find the right Easter eggs
Not all Easter eggs are created equal! Shop for Easter eggs with decent sized holes on the top and bottom. The holes will be used to string the garland together. I found that large Easter eggs work great for a fuller garland look. Smaller eggs will look great for a longer garland. Michael’s has an incredible selection of adorable Easter eggs in all sizes and shapes. These are the pastel Easter eggs I used from Michael’s.
2. String the eggs on Garland
For the garland use twine, yarn or string. The key on choosing the garland string is to make sure it is the right size for the Easter eggs. The string should be thin enough to fit through the holes of the Easter eggs. Pro tip: use a needle to thread the string through the eggs.
3. Add the Ribbon
Select 2-3 different colors of ribbon and cut into 8in strips. Select Easter inspired colors; such as; pinks, soft greens, purples, light blues, soft yellow, and white. Pro tip: look for at least one fabric with a patten or texture (like plaid or lace). Tie each piece of trimmed fabric in a knot on the string between the Easter eggs. Repeat the knot trying process with each color, alternating colors and textures. Add as many knots as you prefer depending on the desired length and fullness of your garland.


Did you like this post?
Then you may enjoy more creative toddler mom ideas from the blog.