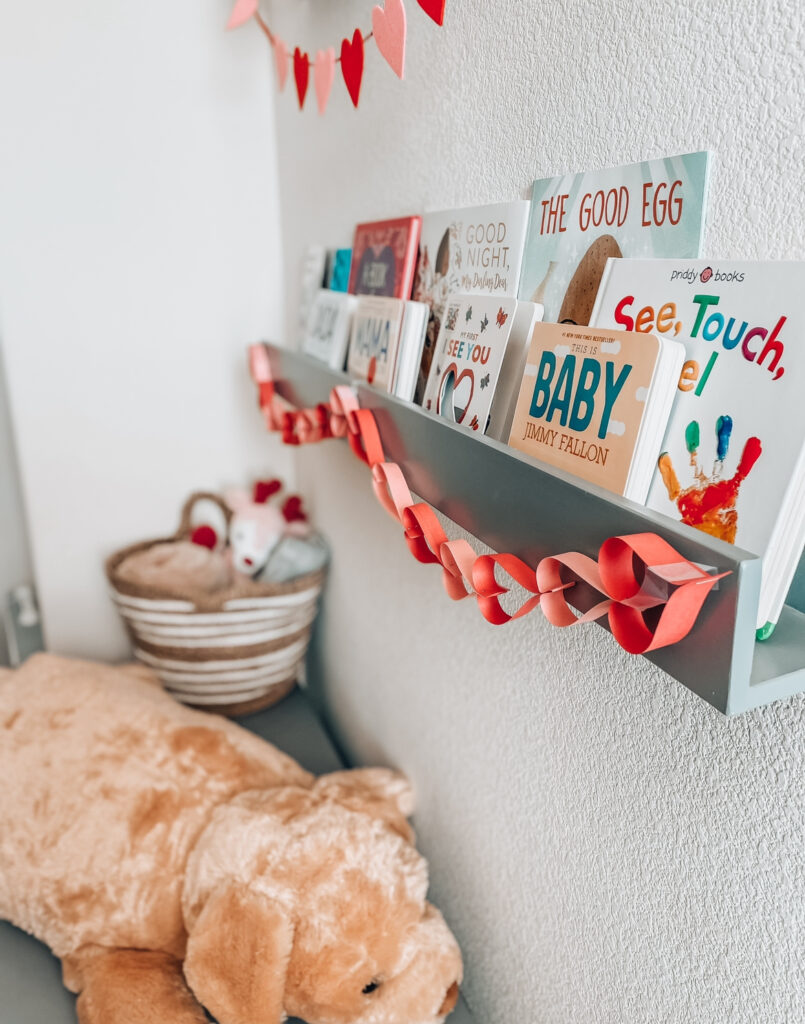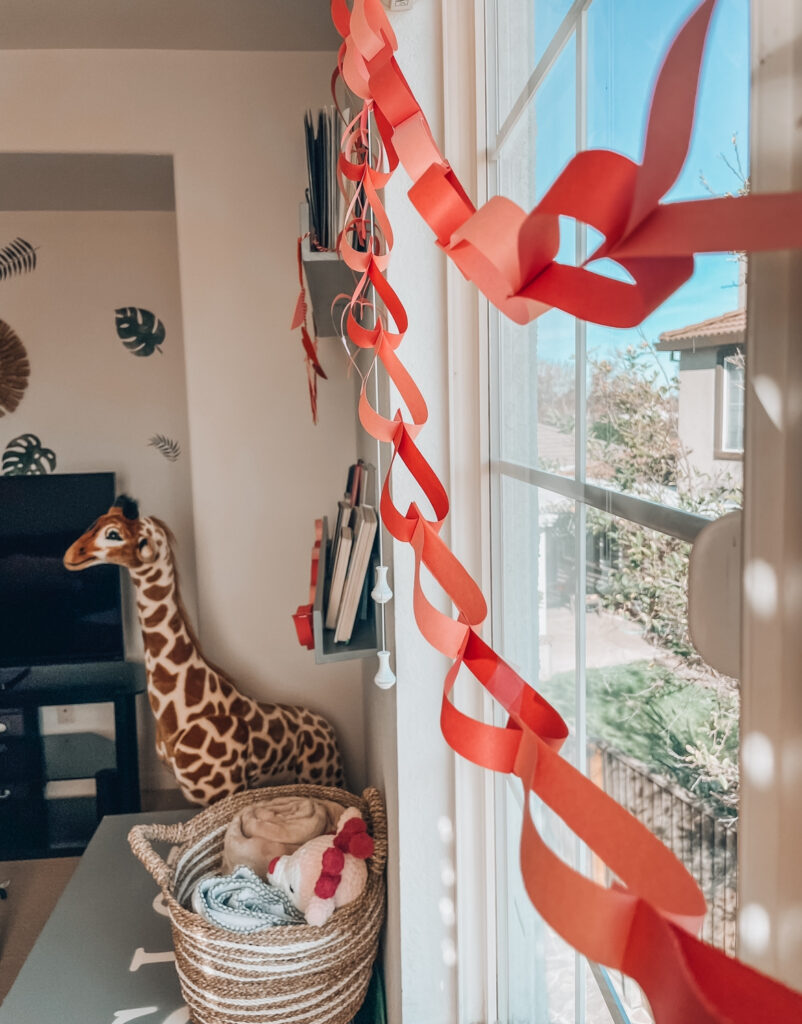
This DIY heart shaped paper garland for my kids room turned out absolutely adorable! It’s super simple to make and comes together in just a few minutes. At first it might seem tricky, but I promise it’s much easier than you would think.
Supplies:
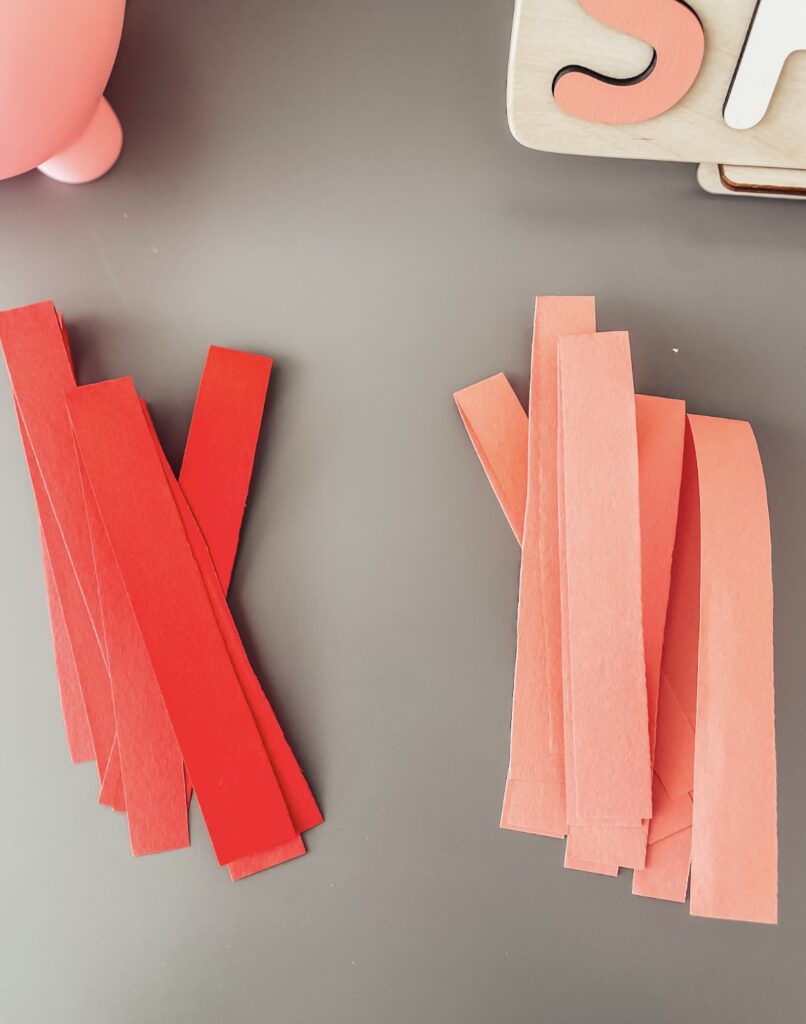
- Construction paper (I used pink and red, but this would also look cute with any other colors you have)
- Scissors
- Stapler
- Ruler and pencil (to help draw straight lines for cutting the construction paper)
Step 1: Cut & Fold Paper

Cut the construction paper lengthwise into even one-inch strips. It’s easiest to use a ruler marking one-inch lines to cut along. The strips don’t have to be completely perfect for the garland to work, so just do the best you can. Once you have all the strips cut, fold them all in half.

Step 2: Make the first heart
The garland will start with one heart. To make this first heart, bend one strip into a heart shape, and then staple the top together. It will look like the picture below:

Step 3: Build the garland
Once you have the first heart stapled together then you’re ready to build the garland. Take one of the folded paper strips, and place the fold under the bottom of the heart- it will look like a letter ‘V’ under the first heart. Staple the ‘V’ to the heart.

Next, you’ll want to fold that second paper strip back into a heart shape. Then place a third piece of folded construction paper (in a ‘V’ shape) at the base of the new heart shape- and staple them together.

Continue this process of attaching new paper strands to the bottom of each existing heart to complete your garland. These DIY heart shaped paper garlands are adorable and surprisingly simple to make. I placed several stands over the windows in my kids playroom and decorated their bookshelves as well. It’s an easy way to add some Valentine DIY decor to your home.

If you give this DIY heart shaped paper garland a try- then I would love to hear from you!