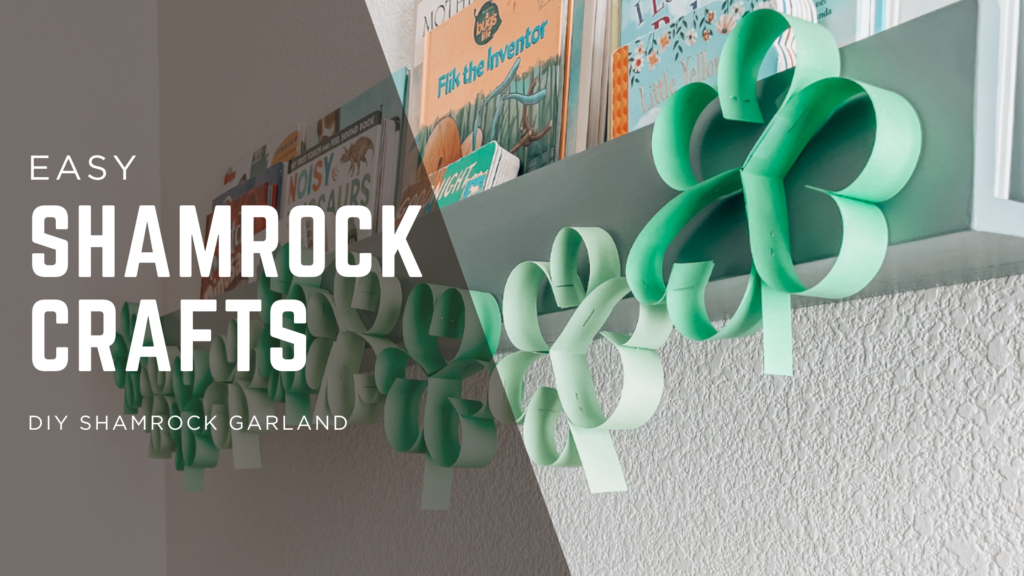
This adorable shamrock paper garland is so easy and is the perfect decoration for St Patrick’s Day! DIY shamrock crafts make such fun activities for kids – and it doesn’t get any easier than this adorable garland.
Follow on Instagram for more fun activities for kids!
We hung our little shamrock crafts on the kids playroom on their bookshelves. The DIY shamrock paper garland was so cute in their room and added a perfect festive touch for St Patrick’s Day.
This shamrock paper garland craft is very simple and easy to make- I made this entire garland without a paper cutter, however you can definitely use one if you have one.
What you’ll need for your Shamrock Crafts:
- Green paper (card stock)
- Scissors (or paper cutter)
- Stapler
Here are step-by-step instructions to make a shamrock paper garland this St Patrick’s Day. Visit my Instagram for a video of this same process!
Step 1: Cut & Fold
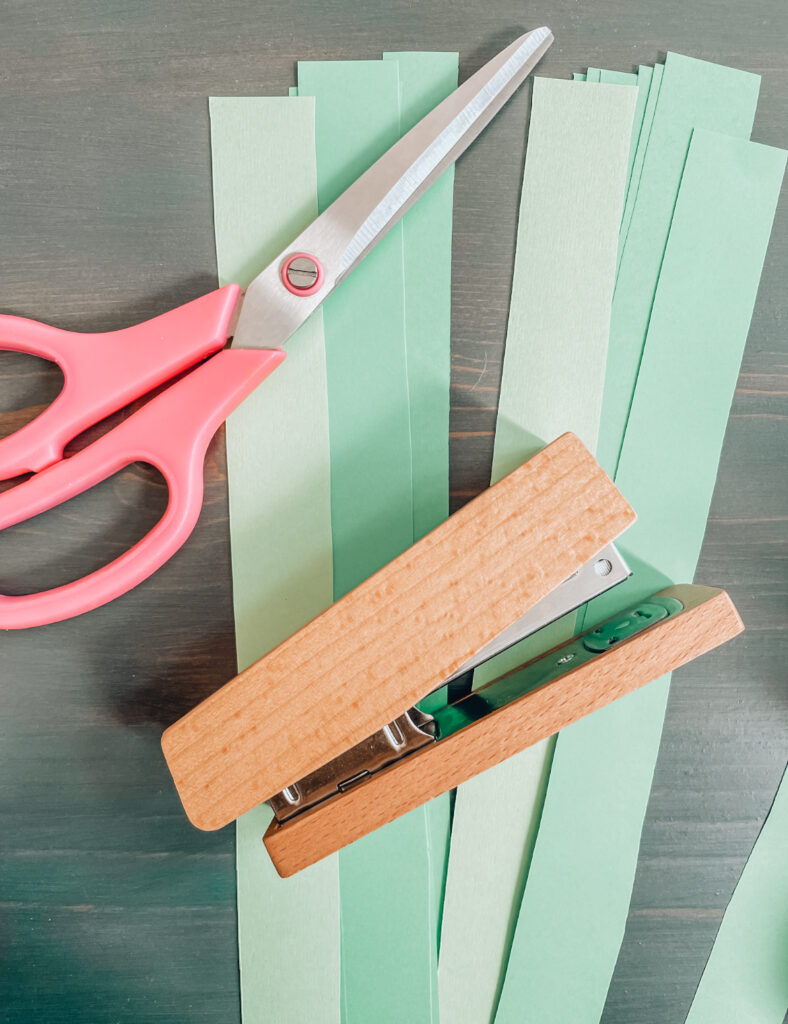
Start by cutting green card stock into approximately 1/2 inch to 1 inch strips lengthwise. I have found that thicker card stick works better when compared to constriction paper (which doesn’t hang as well). Next, fold the 1 inch stripes in half to make a ‘V’ shape.
Step 2: Make into Heart Shapes
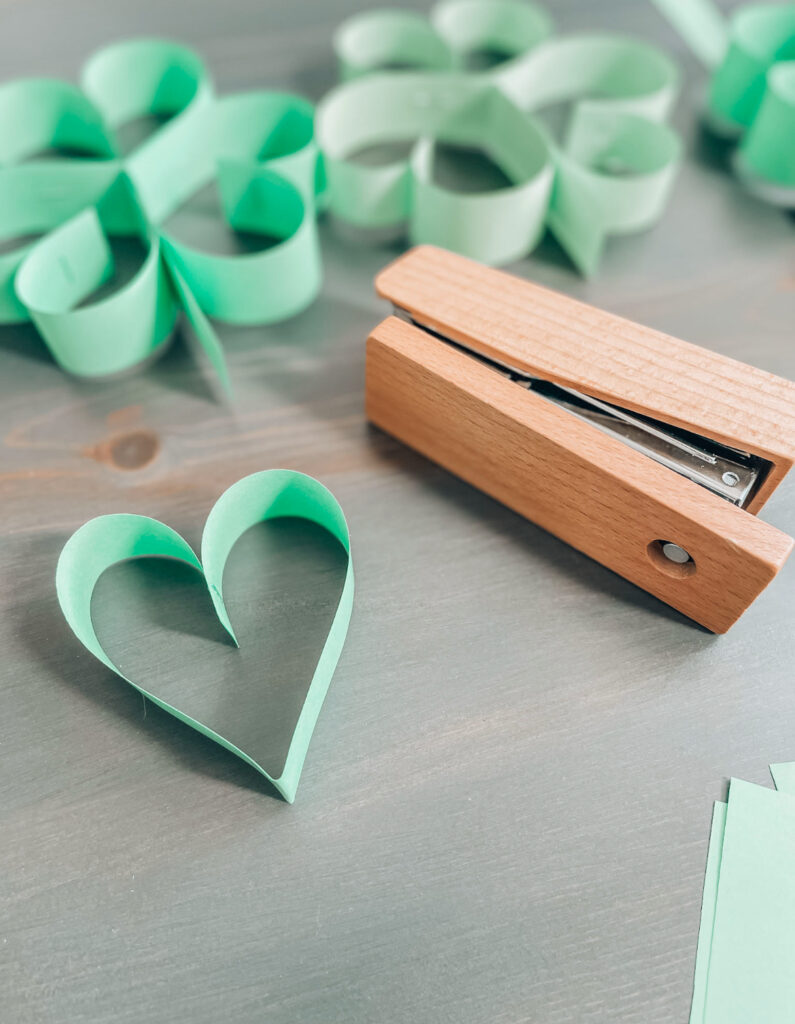
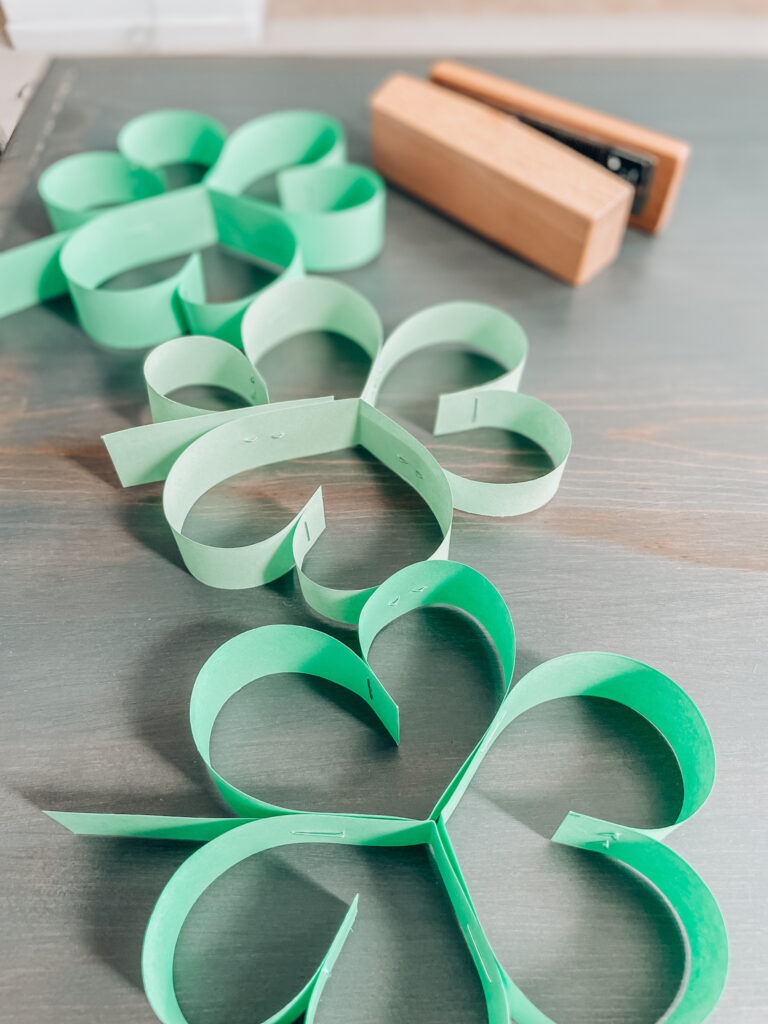
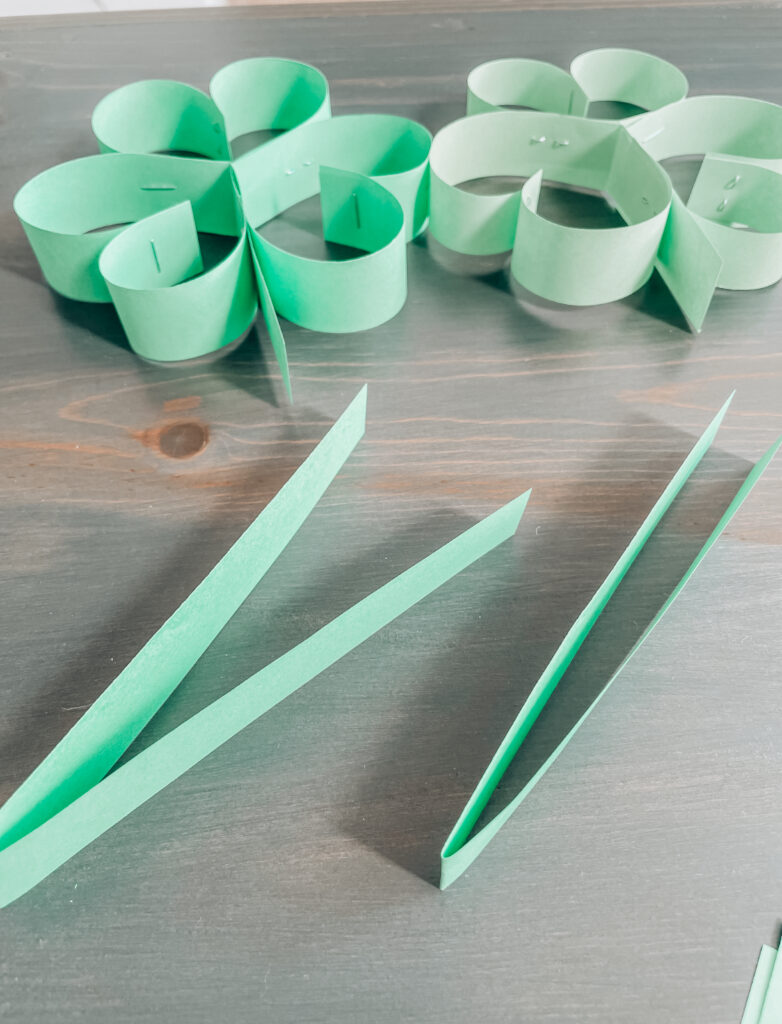
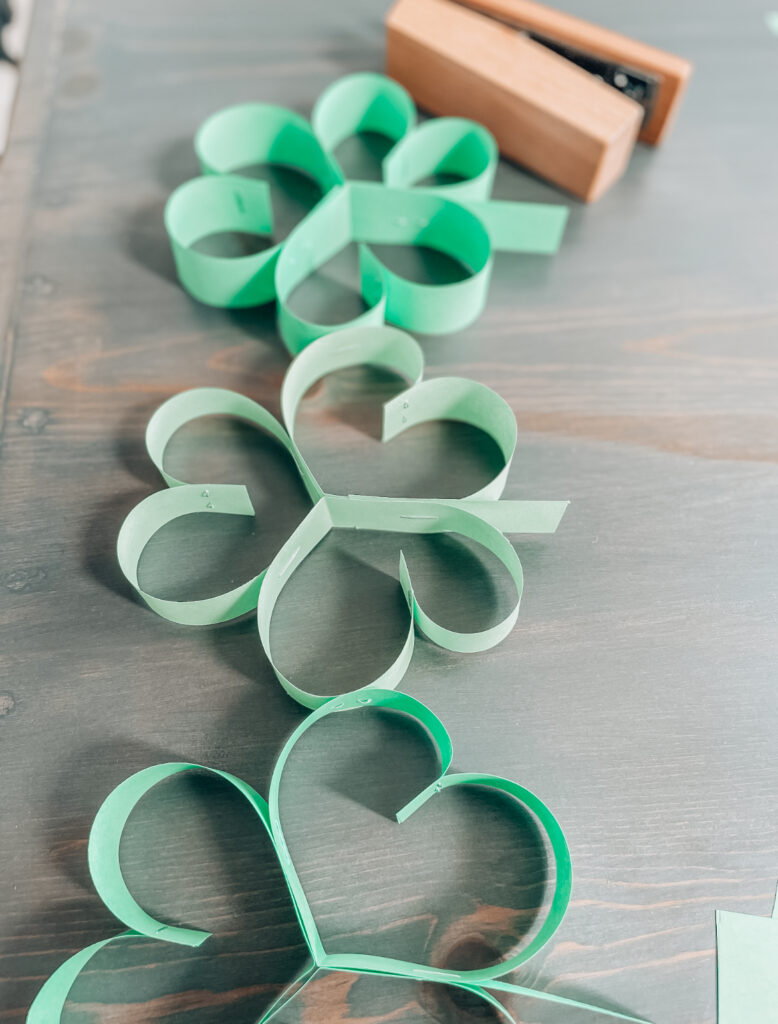
Take the folded ‘V’ strips and bend them into a heart shape. Then staple the strip together to make into a heart. Note: You will need 3 hearts for each three leaf clover.
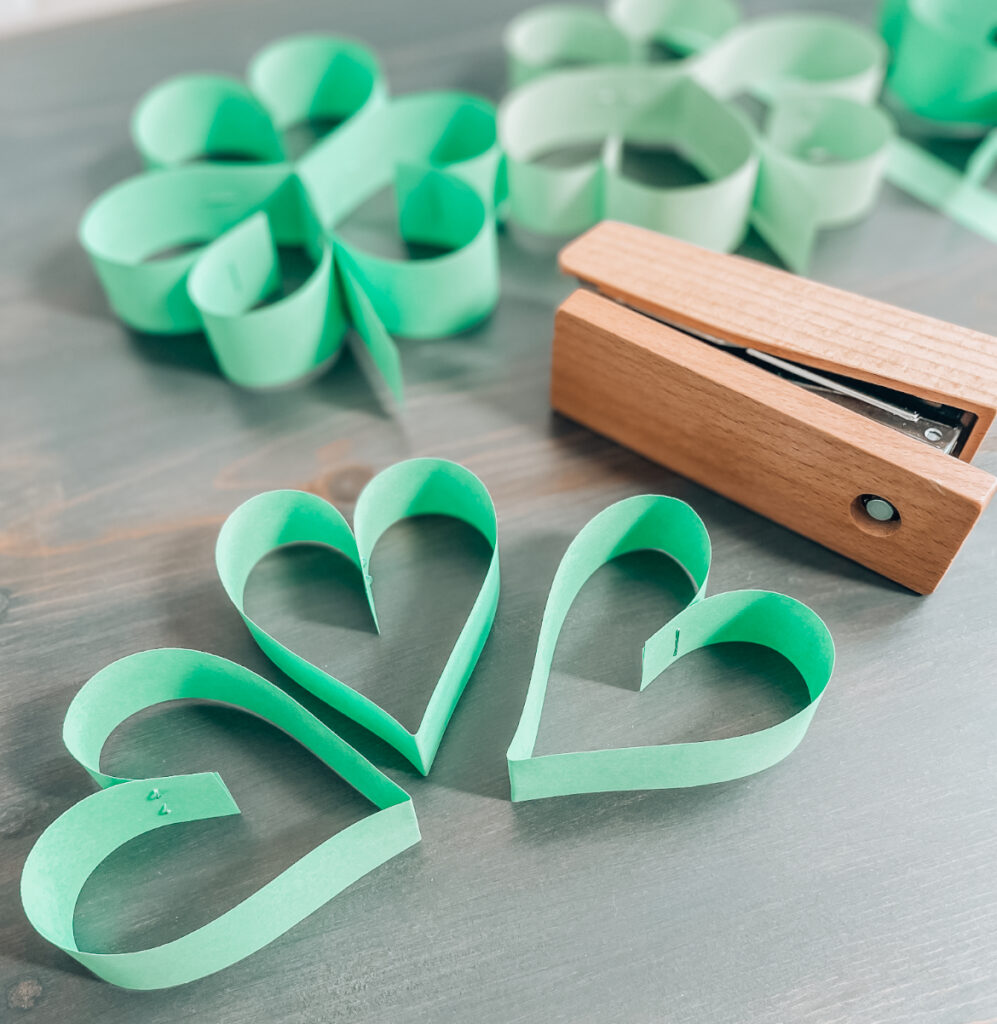
Step 3: Staple 3 Hearts Together
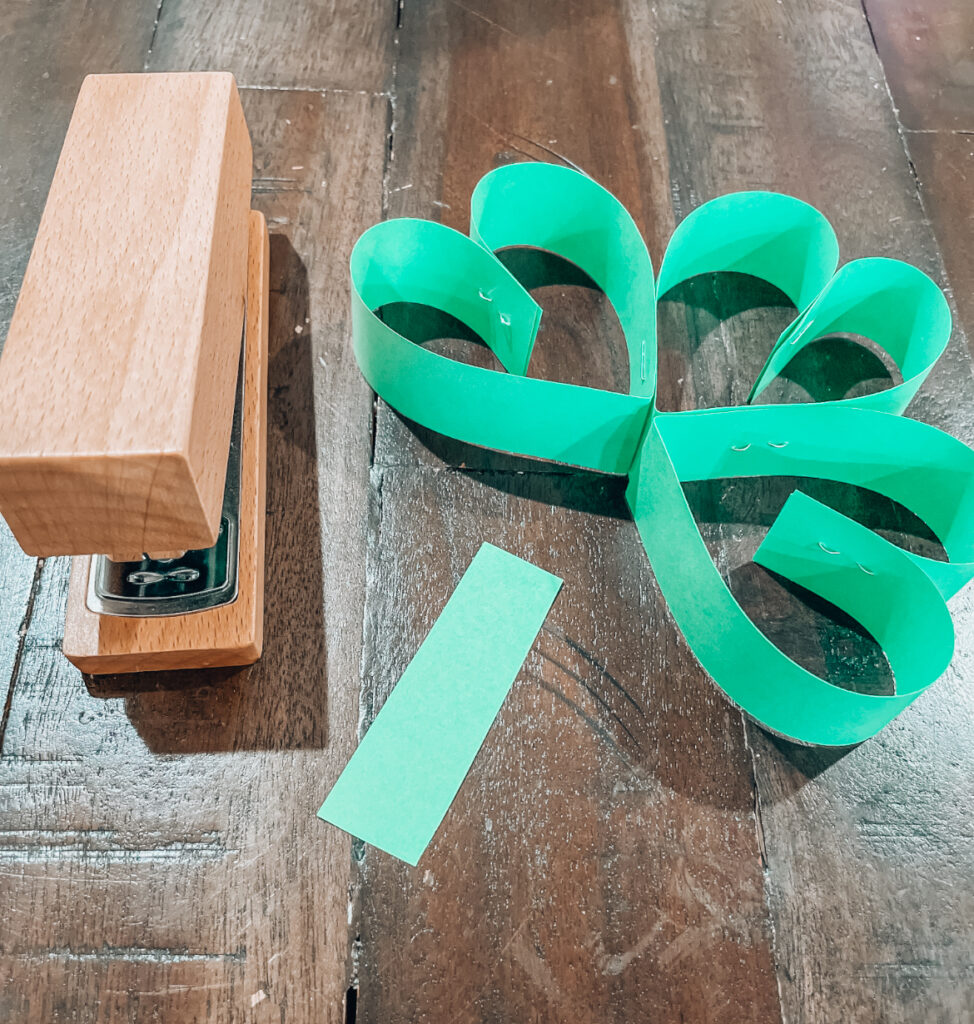
Staple the sides of three hearts together. Then, make a stem for the three leaf clover by cutting a long strip into 4 smaller pieces. Insert the stem between the first and third heart shape, and staple together.
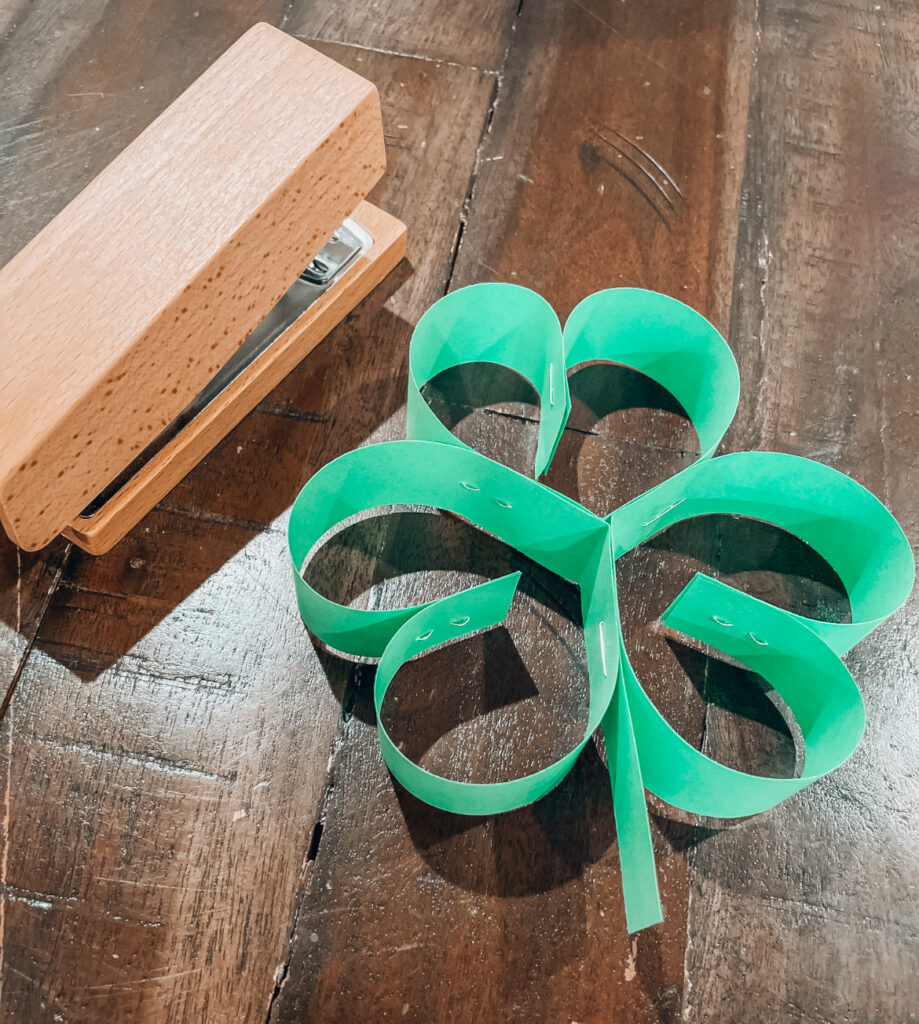
Step 4: Make Garland
Staple each three leaf clover together to create an adorable and very easy shamrock garland. Repeat the process as many times as you’d like to create length in your shamrock paper garland.

Did you like this post?
Then you may enjoy this DIY Paper Heart Garland tutorial.